Pages

Showing posts with label Pinterest. Show all posts

Saturday, January 25, 2014

Simple Valentine Treats for the Kiddos

Valentine's Day is right around the corner. I wanted a simple treat for my 47 second grade students for this special occasion. You read correctly- 47!  (It's because I team teach with an awesome gal! ) 

While looking through my Pinterest boards I came across this cute and simple treat. I was inspired to create my own.


 I pulled out my seasonal stamp stash and created this version.


The rubber stamps came from the dollar bin at Michael's a few years ago.  First, I cut some patterned cardstock from the Dollar Store business card size (2" x 3 1/2"), stamped the images, and then attached a piece of chocolate. I found 10 packs of pencil top erasers while cleaning out the attic during the Christmas holidays. I took the pink and purple erasers from the packs to add to the candy treat.
I placed the cards and erasers in a small plastic bag, and cut bag toppers from my Valentine paper stack.
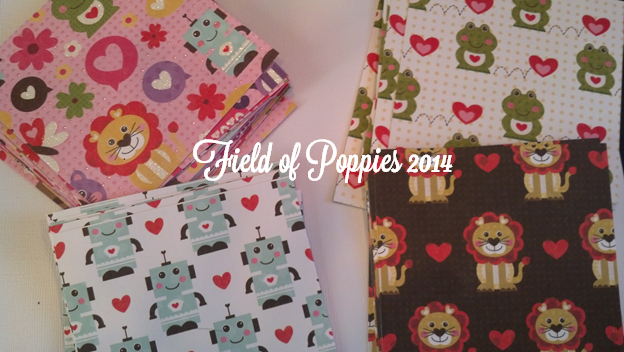
The finished product~


All packaged and ready for my Second Graders~


Thanks for stopping by~

Tuesday, December 11, 2012

Clean and Simple Christmas Cards

Like most of you, I am a Pinterest addict.  When I saw this card on Pinterest, I immediately pinned it to my one of my boards.  I love it's simplicity and the polka dots.


Pinned Image
Original post {HERE}
 
 
I needed to make a few cards to send to some family members in Minnesota.  This was the perfect card. So I used my tree punch and found a few scraps in my scrap paper drawer. This is my version.


Thanks for stopping by~


Tuesday, November 27, 2012

Memories and Easy Snowflake Ornaments

I know some of you have had up your Christmas tree(s) since October. Others of you probably  have never taken your tree(s) down from last year.  The tradition at our house is to put up the trees on Thanksgiving Day and take them down on Christmas Day.  Yea~ you are probably saying a few choice words right now,but this ritual works for me.  After the tasty Thanksgiving dinner, the trees (yes, plural- two of them) go up.  On Christmas Day after all the gifts have been opened, the trees are packed away safely and neatly in the attic until the next Thanksgiving.
 
Each year as I place the ornaments on the tree, I'm reminded of the stories that go along with each of them- the mason jar ring holding a picture of Sid's preschool years, or Jess' paper plate angels that adorn the top of each tree, or even the  ice cream cone (a real one) with a round ornament as the scoop with Mike's name printed in glitter, or even the "World's Best Teacher" ornament from 15 years ago.  Many of the ornaments were made by our kids or given to me over the years by students I have taught. Each story is unique.  Each ornament is unique.  Each kid or student is equally unique.
 
These are my memories.  It's a lot like Wilfrid Gordon McDonald Partridge visiting the old folks home with a "box of memories" for the residents who live there.  As a parent, I adore the handmade ornaments the kids made in school.  The trees will always have space for them. Always.  As a teacher, I want my students to create a memorable ornament for their parents to remember that particular school year.  I've made a variety of ornaments over the years, however when I saw this ornament on Pinterest my mind was made up.
 
 Our 2012 Class Christmas Ornament
easy snowflake ornament
original post {HERE}
 
I did a trial run at home to make sure it was as easy as the post describes.  It really is SUPER easy. The trial ornaments will be sold in my shop. 
 
Materials include Crayola Model Magic, a snowflake cookie cutter, rolling pin, and a straw. I bought a large tub at Hobby Lobby for around $13 with the 40% off coupon.  It will make about 50-60 ornaments (depending on thickness.)
 
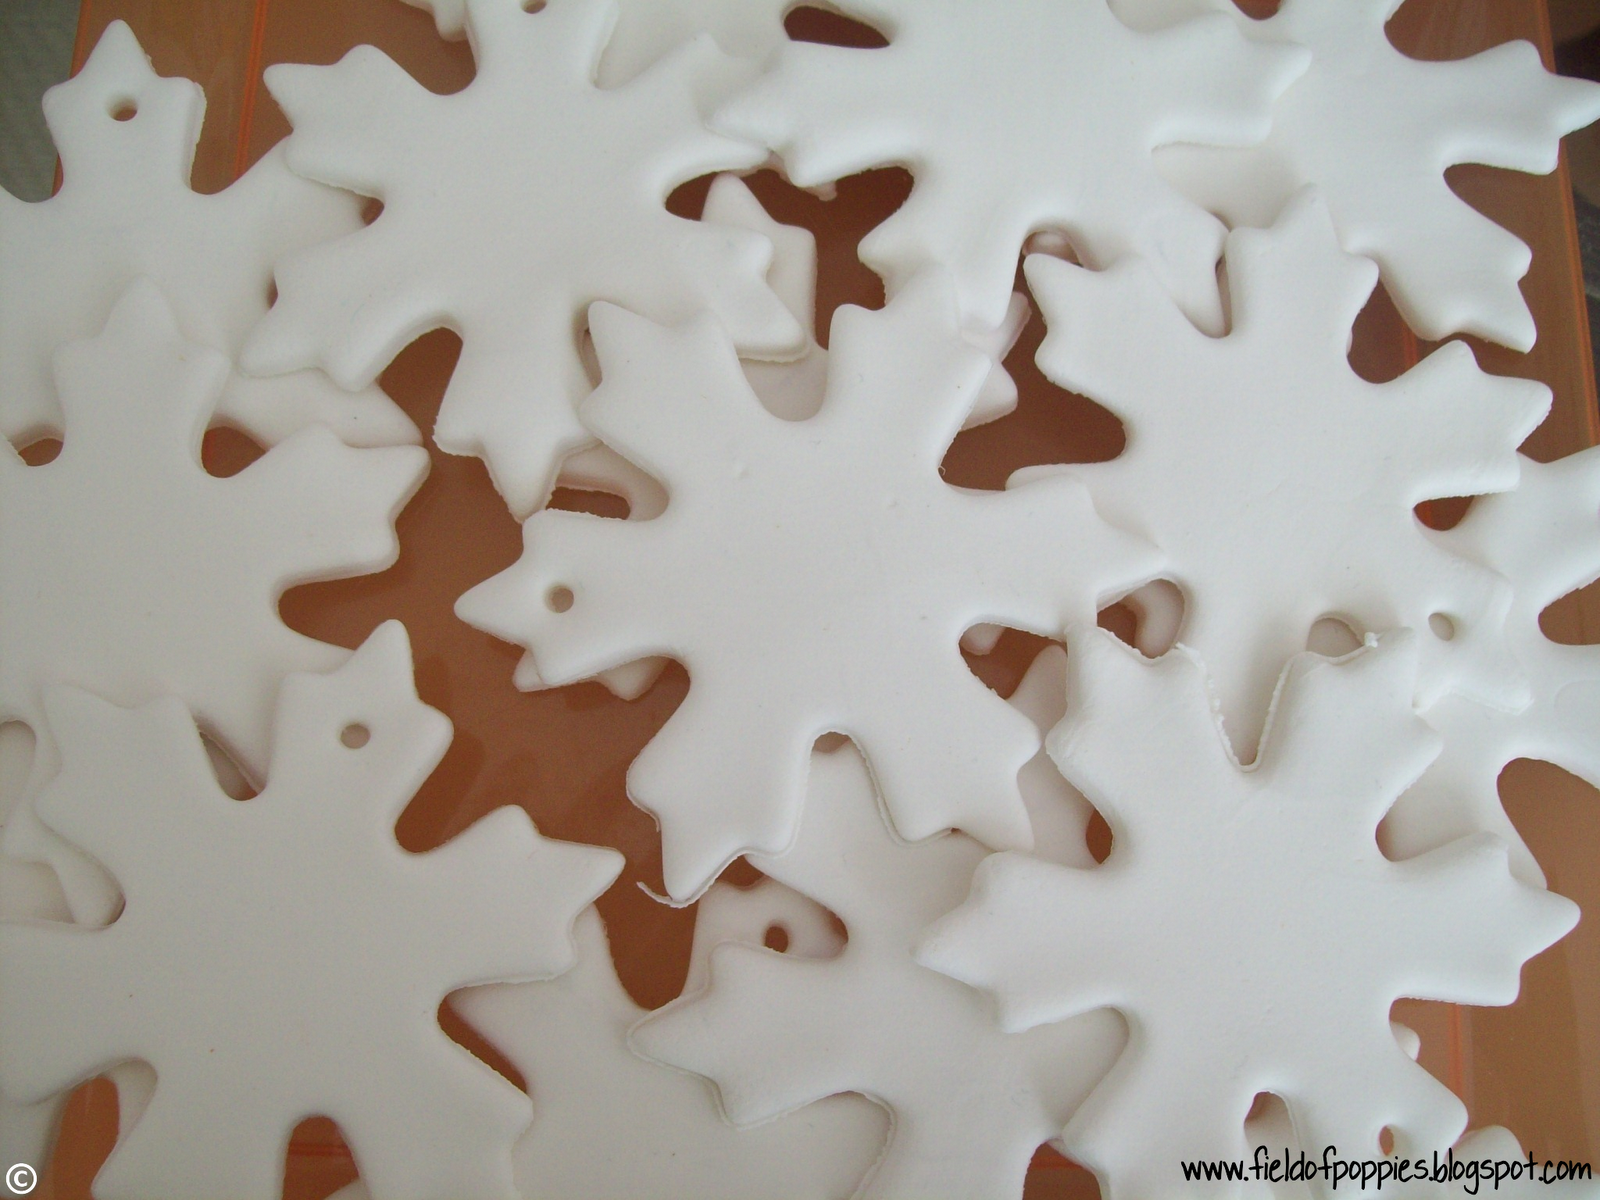
After rolling the dough to about 1/4" thickness, I then carefully cut out the dough with the cookie cutter.  Use the straw to make a hole.  You won't be able to do this later once the dough dries.
 
 
Here is a close up. The ornaments are very smooth, yet very soft.  It takes about 48 hours to dry completely.  If you are in a hurry, this would not be a good project for you.
 
More close-ups
 
 
Because I wanted to put a few in my shop, I worked on packaging.  Presentation is KEY. Here is the final product.


Happy Ornament Making and...
 
Thanks for stopping by~


Saturday, March 10, 2012

I'm In....Pin Me!

I'm joining bloggers from all over to allow you to pin from our site to your pinterest board. All things pinned out there in cyber world are not OK, so make sure you have permission to pin. This button says it's ok- Pin Away~

One thing to remember...link back to me! This is my stuff! (Unless otherwise noted!)
Related Posts Plugin for WordPress, Blogger...