Pages

Showing posts with label crafts. Show all posts

Wednesday, October 9, 2013

More Frames...{FALL} is Framed!

I want to show you another set of frames I created for the Fall Display in the Field of Poppies booth.

Check out my "BOO" frames {HERE}

I printed the letters for this display using my handy, dandy inkjet printer on book pages from a foreign language book.  Using acrylic paint, I painted the frames with a fun, Autumn green with a little distressing. More burlap rosettes embellished with buttons finish off these rustic-style frames.

Enjoy~


Stop by our booth in person or on FACEBOOK!
Thanks for stopping by~

Saturday, February 16, 2013

Bunting Project

I have two small consignment corners in two different shops in a nearby town.  Yes- CORNERS! One is a simple 4 shelf bookcase in a new shop that opened about 3 months ago on main street and the other is an 8 x 8- give or take a foot-  corner in an established marketplace with more restrictions than one can imagine.

I am always trying to find unique, yet simple items for each space. Presentation is key in both establishments. I have to "draw" in the customers you know. My ultimate goal is to make rent each month and hopefully come out with a little extra to make and buy more items for the booths for the next month.

I usually make or buy things that I would like to have for myself in case they don't happen to sell in either space.  I just hope that means I have good taste.  So I thought I would try my hand at some bunting.

Bunting is all the rage now.  It's everywhere- hanging at the top of your blog pages, draped across a mantle for Valentine's Day, and even on a cute birthday card.  Here's a tutorial on a simple bunting I made to put on a bulletin board in one of my shops.

You will need:
  • cute scrapbook paper
  • bias tape
  • sewing machine with thread of choice
  • laminating machine (optional)

I used my Cricut and cut out about 10 pennants using the Locker Talk cartridge.

 
After cutting out the pennants, I used my paper cutter to cut off the wings at the end of each pennant.  This made it easier to tuck in the bias tape to sew.
 
Next, I laminated the pieces for durability and cut them out.


Then, I stitched a seam down the back.  I flipped the bunting over and sewed another zigzag line.


The finished product.
 
 
I added it to this bulletin board and placed it in my shop.  This board lasted only a few days in the shop.


Thanks for stopping by~


Monday, January 14, 2013

Clean and Simple Origami Cards

Today I want to share with you an easy origami valentine card.


These are the materials I used.


I cut paper into 5 x 5 squares. (I purchased the paper from the dollar bin at Target.Then I followed this tutorial.


It didn't take long to make these.


I put the finished valentine's  through my sticker maker.  Double sided tape will work just fine so don't worry.  I placed a valentine on the front of kraft cardstock.  I bought a large pack of blank kraft cardstock cards on Black Friday for next to nothing at Michael's.  I stamped a sentiment onto the front.  I grabbed this stamp from the dollar bin at Michael's as well.
 
.
 
 I will be sending these cards to my gals in the Random Act of Kindness Card Club in which I belong. 


Thanks for stopping by~


Friday, January 4, 2013

Knock, Knock! Who's There? Another Redo. A Door Makeover.

My last post was about a bar stool redo. (It has already sold in my shop, so I guess I will need to get another one. This time for me.  Fun! Fun! Fun!)

Today I want to share a door redo.  I totally love the way it turned out.  Its story goes a little like this...

On one of my trips to the Habitat for Humanity store a few months ago, I noticed a cart labeled "FREE DOORS" at the entrance.  I immediately stopped in my tracks and began looking through all the freebies.  I'm not sure why others were just bypassing the cart as if it was full cootie bugs.  But then again, I'm glad they did. Because I found a diamond in the rough. Anxiously waiting for me.

Fumbling through the assortment of doors, I noticed doors in all conditions- good, fair, and poor. (All the good ones were inside with price tags on them.) Some had what appeared to be 15 layers of paint, some had major damage with chunks missing, and then I spotted "the door."  No paint, no major damage- Absolutely perfect. It was literally begging for me to take it.  So I did.

I shy away from doors with lots of layers of paint due to having to test them for lead. No way Hosea for me. Too much work. And doors with major damage, well I'm a little creative.  I would be stretching my limits there.  So the plain brown door had potential.  Lots of potential.

I brought her home and placed her against the wall in the garage.  There she stayed for about two months. Last week I pulled her out and gave her a makeover.

I gave the door a light sanding and then painted the front and back with my favorite primer. Two coats.( Don't ever skip out on the priming. You will pay if you do with more work for yourself.)

I

I, then gave the door two coats of Limeade by Valspar Signature. (It's hard to see the color in the picture.) Since the paint color was light, the two coats of primer were definitely needed.  One coat would have left light and dark spots all over the door. Not good. If you notice I left the top insert paintless... for now.


Next, I sprayed the the top section with chalkboard paint to add a little twist.  I also distressed the door front and back with watered down brown acrylic paint. I totally love it.


I displayed the door in my consignment shop.


Well, the wreath I made definitely covered too much of the door.  Who would know it had a chalkboard? So I moved to wreath to a different spot in the booth and added a saying I found on Pinterest.


By the way, today is my one year blogger-versary.  I don't for one moment regret starting this little blog.  I'm hoping in the year to come, that Field of Poppies will continue to grow and be an inspiration to all who visit. Thanks for your comments, encouragement, and support.

Thanks for stopping by~



Tuesday, December 11, 2012

Clean and Simple Christmas Cards

Like most of you, I am a Pinterest addict.  When I saw this card on Pinterest, I immediately pinned it to my one of my boards.  I love it's simplicity and the polka dots.


Pinned Image
Original post {HERE}
 
 
I needed to make a few cards to send to some family members in Minnesota.  This was the perfect card. So I used my tree punch and found a few scraps in my scrap paper drawer. This is my version.


Thanks for stopping by~


Tuesday, November 27, 2012

Memories and Easy Snowflake Ornaments

I know some of you have had up your Christmas tree(s) since October. Others of you probably  have never taken your tree(s) down from last year.  The tradition at our house is to put up the trees on Thanksgiving Day and take them down on Christmas Day.  Yea~ you are probably saying a few choice words right now,but this ritual works for me.  After the tasty Thanksgiving dinner, the trees (yes, plural- two of them) go up.  On Christmas Day after all the gifts have been opened, the trees are packed away safely and neatly in the attic until the next Thanksgiving.
 
Each year as I place the ornaments on the tree, I'm reminded of the stories that go along with each of them- the mason jar ring holding a picture of Sid's preschool years, or Jess' paper plate angels that adorn the top of each tree, or even the  ice cream cone (a real one) with a round ornament as the scoop with Mike's name printed in glitter, or even the "World's Best Teacher" ornament from 15 years ago.  Many of the ornaments were made by our kids or given to me over the years by students I have taught. Each story is unique.  Each ornament is unique.  Each kid or student is equally unique.
 
These are my memories.  It's a lot like Wilfrid Gordon McDonald Partridge visiting the old folks home with a "box of memories" for the residents who live there.  As a parent, I adore the handmade ornaments the kids made in school.  The trees will always have space for them. Always.  As a teacher, I want my students to create a memorable ornament for their parents to remember that particular school year.  I've made a variety of ornaments over the years, however when I saw this ornament on Pinterest my mind was made up.
 
 Our 2012 Class Christmas Ornament
easy snowflake ornament
original post {HERE}
 
I did a trial run at home to make sure it was as easy as the post describes.  It really is SUPER easy. The trial ornaments will be sold in my shop. 
 
Materials include Crayola Model Magic, a snowflake cookie cutter, rolling pin, and a straw. I bought a large tub at Hobby Lobby for around $13 with the 40% off coupon.  It will make about 50-60 ornaments (depending on thickness.)
 
After rolling the dough to about 1/4" thickness, I then carefully cut out the dough with the cookie cutter.  Use the straw to make a hole.  You won't be able to do this later once the dough dries.
 
 
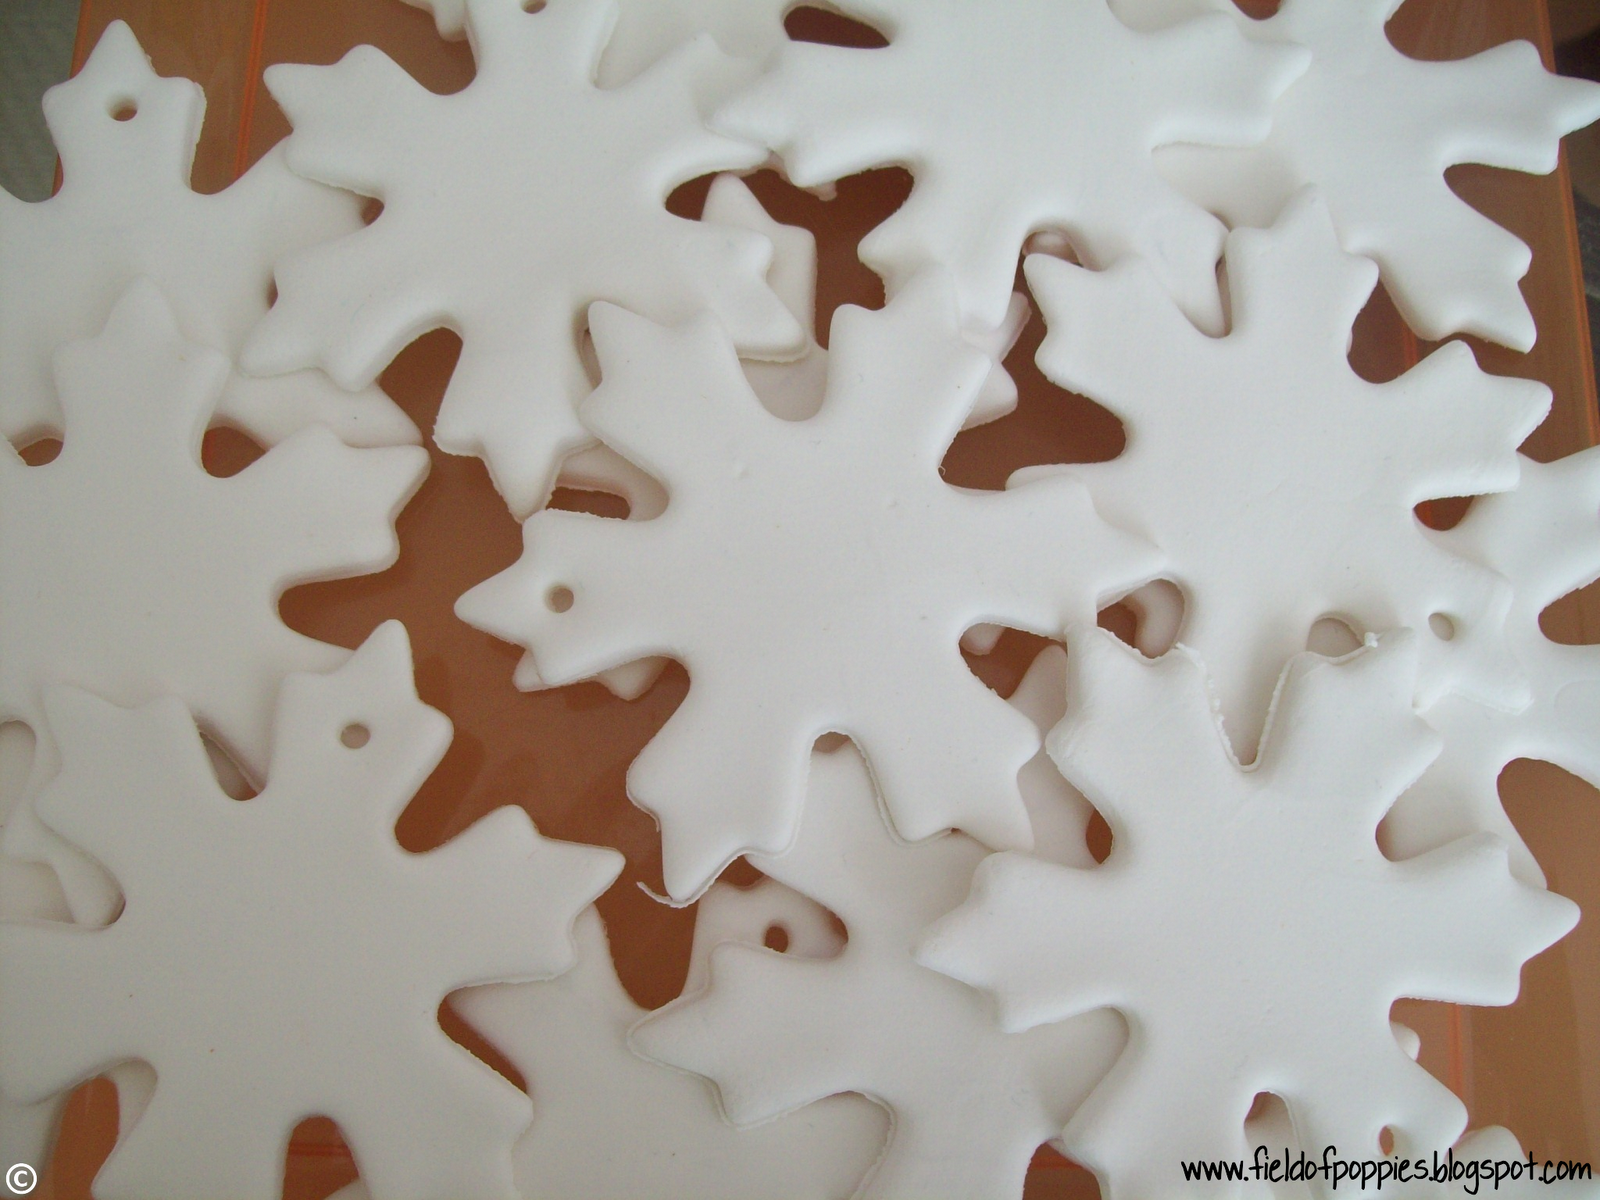
Here is a close up. The ornaments are very smooth, yet very soft.  It takes about 48 hours to dry completely.  If you are in a hurry, this would not be a good project for you.
 
More close-ups
 
 
Because I wanted to put a few in my shop, I worked on packaging.  Presentation is KEY. Here is the final product.


Happy Ornament Making and...
 
Thanks for stopping by~


Related Posts Plugin for WordPress, Blogger...