This week I will be participating in this local outdoor event with a very creative friend of mine.

We will be marketing in the Artist and Crafters Market. I've created unique journals to sell in our booth. I create journals from discarded books, which I display in one of my consignment corners. Each journal is unique and has a story of its own. I LOVE, LOVE books, and I'm a sucker for patterns. I have been lucky to find a batch of Reader's Digest books at a college bookstore at a very minimal price. I love the Reader's Digest books because the book covers are very decorative, super cute, and have great patterns.

A few samples from my most recent book store scavenger hunt. Look at all the patterns and colors.

To begin the transformation process, I use an Xacto knife to remove the bound pages from the book.

I am left with the front and back covers of the book.

Sometimes I save the gutted pages for other projects. However, this time, I will place the pages in the recycling bin. Still good though, right?

This is what I'm left with. What an assortment!

Using a heavy duty paper cutter, I remove the front and back covers from the spine.

It is easy to do. No real muscle work required in this step. The muscle work is coming soon.

I band the front and back covers together. It's easier to keep up with the pieces this way.

I save the spines that were not damaged in the cutting process. I will eventually transform them into bookmarks. That will be another tutorial later.

I take the measurements of the book over.

I always round down to the nearest quarter of an inch. I don't do well with cutting paper into eighths.

It doesn't take long to whip through the stack of books I have. I'm loving the covers more and more. How about you?

Now it's paper cutting time. I prefer using colored paper, however from time to time I will use plain white. It is definitely not my first choice.

I cut 80 sheets of paper for each journal at 5" x 7 1/2". Luckily, I can get two pages from one sheet of paper with little waste. Again ,I band this step to keep the materials for each journal together.

I add a pocket to the front of each journal for tags and small paper items. To do this I take a 12"x12" piece of double sided scrapbook paper and cut it down to 10"x10". I then score it horizontally at 7 1/2", turn the paper and score vertically at 5". Fold the
7 1/2" score line up creating a pocket and fold the 5" score line in half creating a page. EASY~
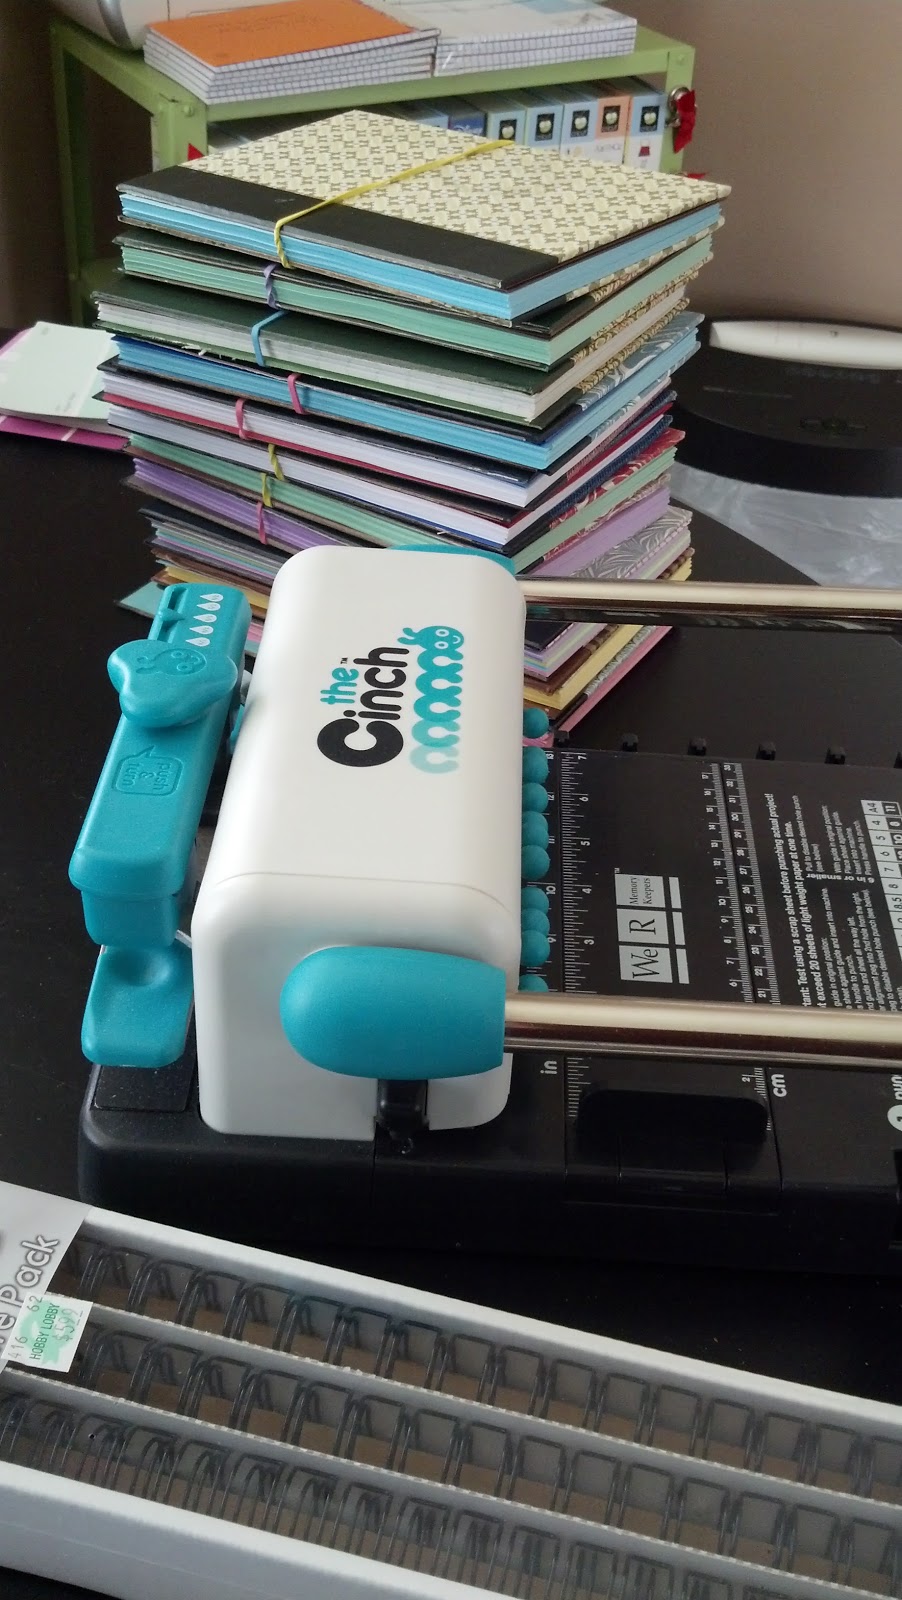
I, then use my Cinch to begin the book binding process. Punching the holes into each book is the most time consuming and labor intensive. I really have to flex my muscles doing this step.

After punching all the books, I band them again. All the banding is not necessary if you are only doing one book, but I have almost a dozen today.

This is a view of the front pocket.

The finished books on a trial run display on the dining room table.

I created 11 journals in a few hours. I will be making a few more to fill the display rack. I will be adding the journals I don't sell to my etsy shop after the show.
I hope you enjoyed the tutorial~
Thanks for stopping by!