
Each year as I place the ornaments on the tree, I'm reminded of the stories that go along with each of them- the mason jar ring holding a picture of Sid's preschool years, or Jess' paper plate angels that adorn the top of each tree, or even the ice cream cone (a real one) with a round ornament as the scoop with Mike's name printed in glitter, or even the "World's Best Teacher" ornament from 15 years ago. Many of the ornaments were made by our kids or given to me over the years by students I have taught. Each story is unique. Each ornament is unique. Each kid or student is equally unique.
These are my memories. It's a lot like Wilfrid Gordon McDonald Partridge visiting the old folks home with a "box of memories" for the residents who live there. As a parent, I adore the handmade ornaments the kids made in school. The trees will always have space for them. Always. As a teacher, I want my students to create a memorable ornament for their parents to remember that particular school year. I've made a variety of ornaments over the years, however when I saw this ornament on Pinterest my mind was made up.
Our 2012 Class Christmas Ornament

original post {HERE}
I did a trial run at home to make sure it was as easy as the post describes. It really is SUPER easy. The trial ornaments will be sold in my shop.

Materials include Crayola Model Magic, a snowflake cookie cutter, rolling pin, and a straw. I bought a large tub at Hobby Lobby for around $13 with the 40% off coupon. It will make about 50-60 ornaments (depending on thickness.)

After rolling the dough to about 1/4" thickness, I then carefully cut out the dough with the cookie cutter. Use the straw to make a hole. You won't be able to do this later once the dough dries.

Here is a close up. The ornaments are very smooth, yet very soft. It takes about 48 hours to dry completely. If you are in a hurry, this would not be a good project for you.

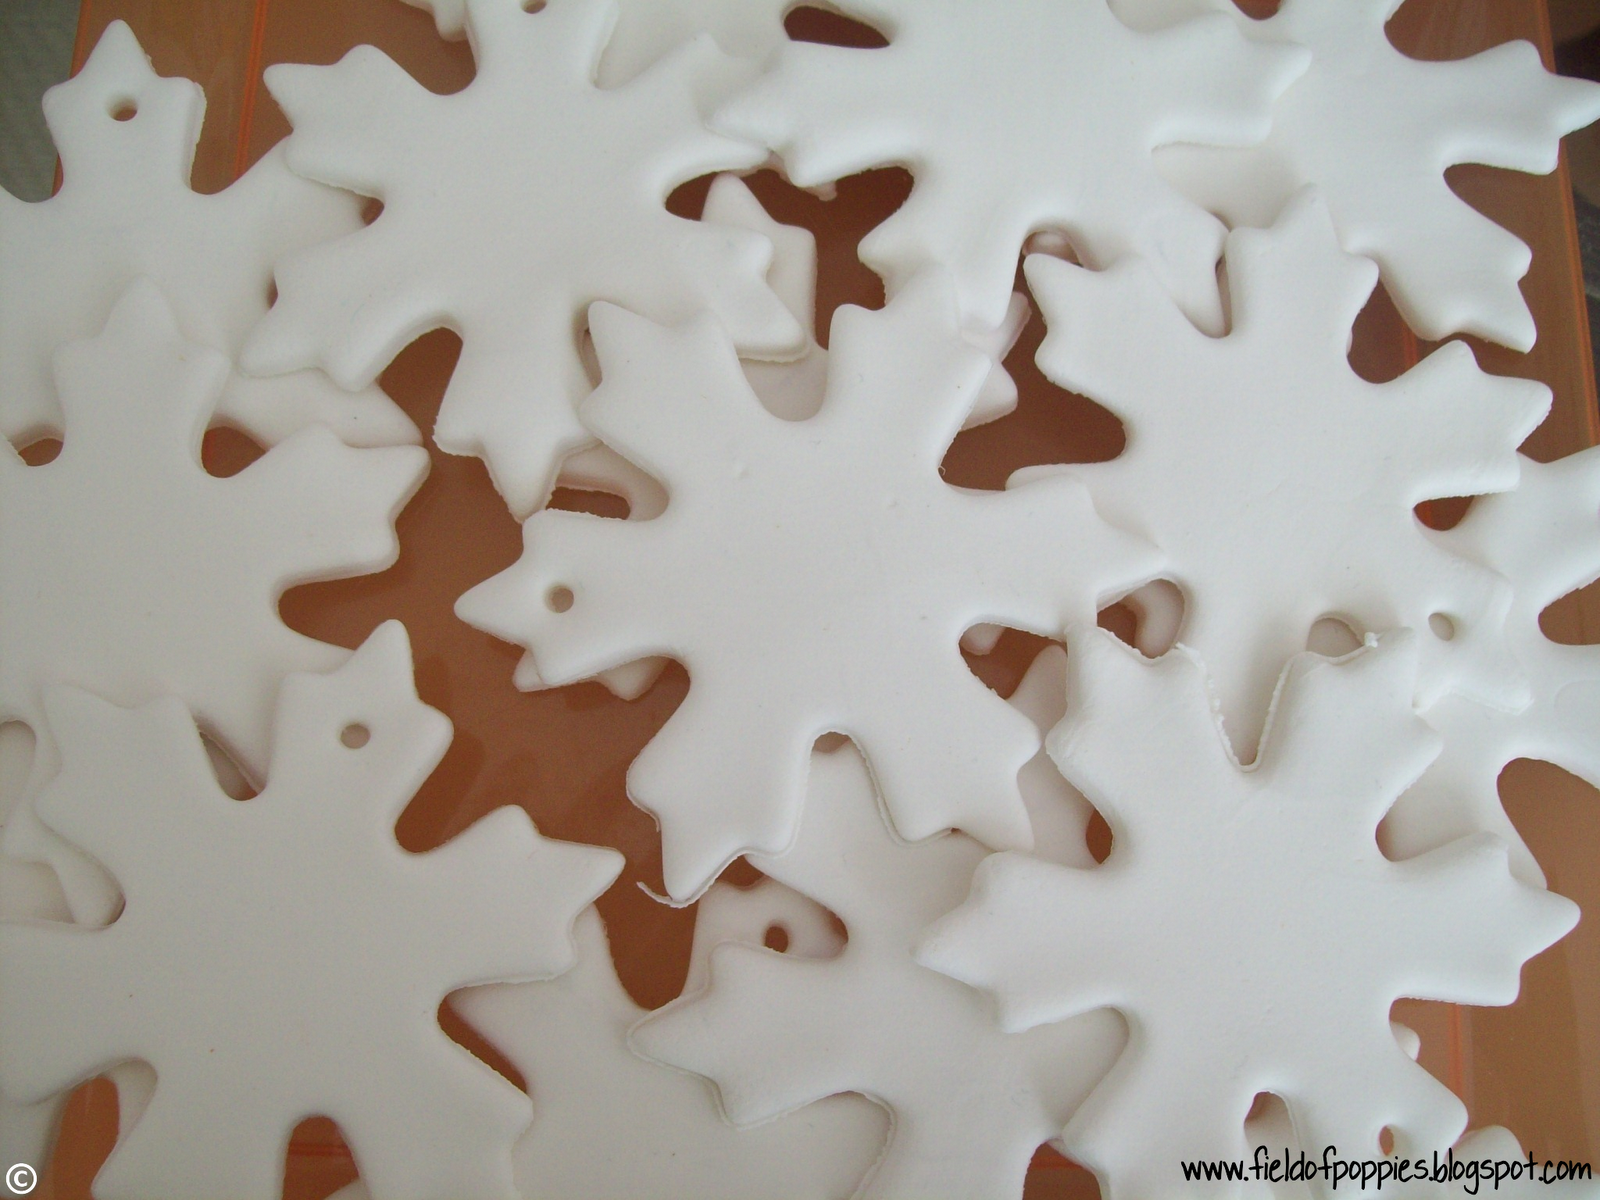
More close-ups
Because I wanted to put a few in my shop, I worked on packaging. Presentation is KEY. Here is the final product.


Happy Ornament Making and...
Thanks for stopping by~

Beautiful and elegant!
ReplyDelete