Pages

Showing posts with label chalkpaint. Show all posts

Wednesday, January 8, 2014

New Chalk Painted Picture Frames for my booth and Etsy~

Happy New Year Everyone! The last time we hung on on the Field of Poppies blog was back in 2013. I hope 2014 has started with great visions for you~

One of my visions/goals this year is to expand my etsy shop. Today I would like to share with you a picture frame I have created for my booth in an Antique Marketplace with high hopes of becoming part my etsy shop as well.


They're totally Awesome~

Thanks for stopping by~

http://www.etsy.com/shop/justpoppies
https://www.facebook.com/2PoppyGirls

Saturday, August 17, 2013

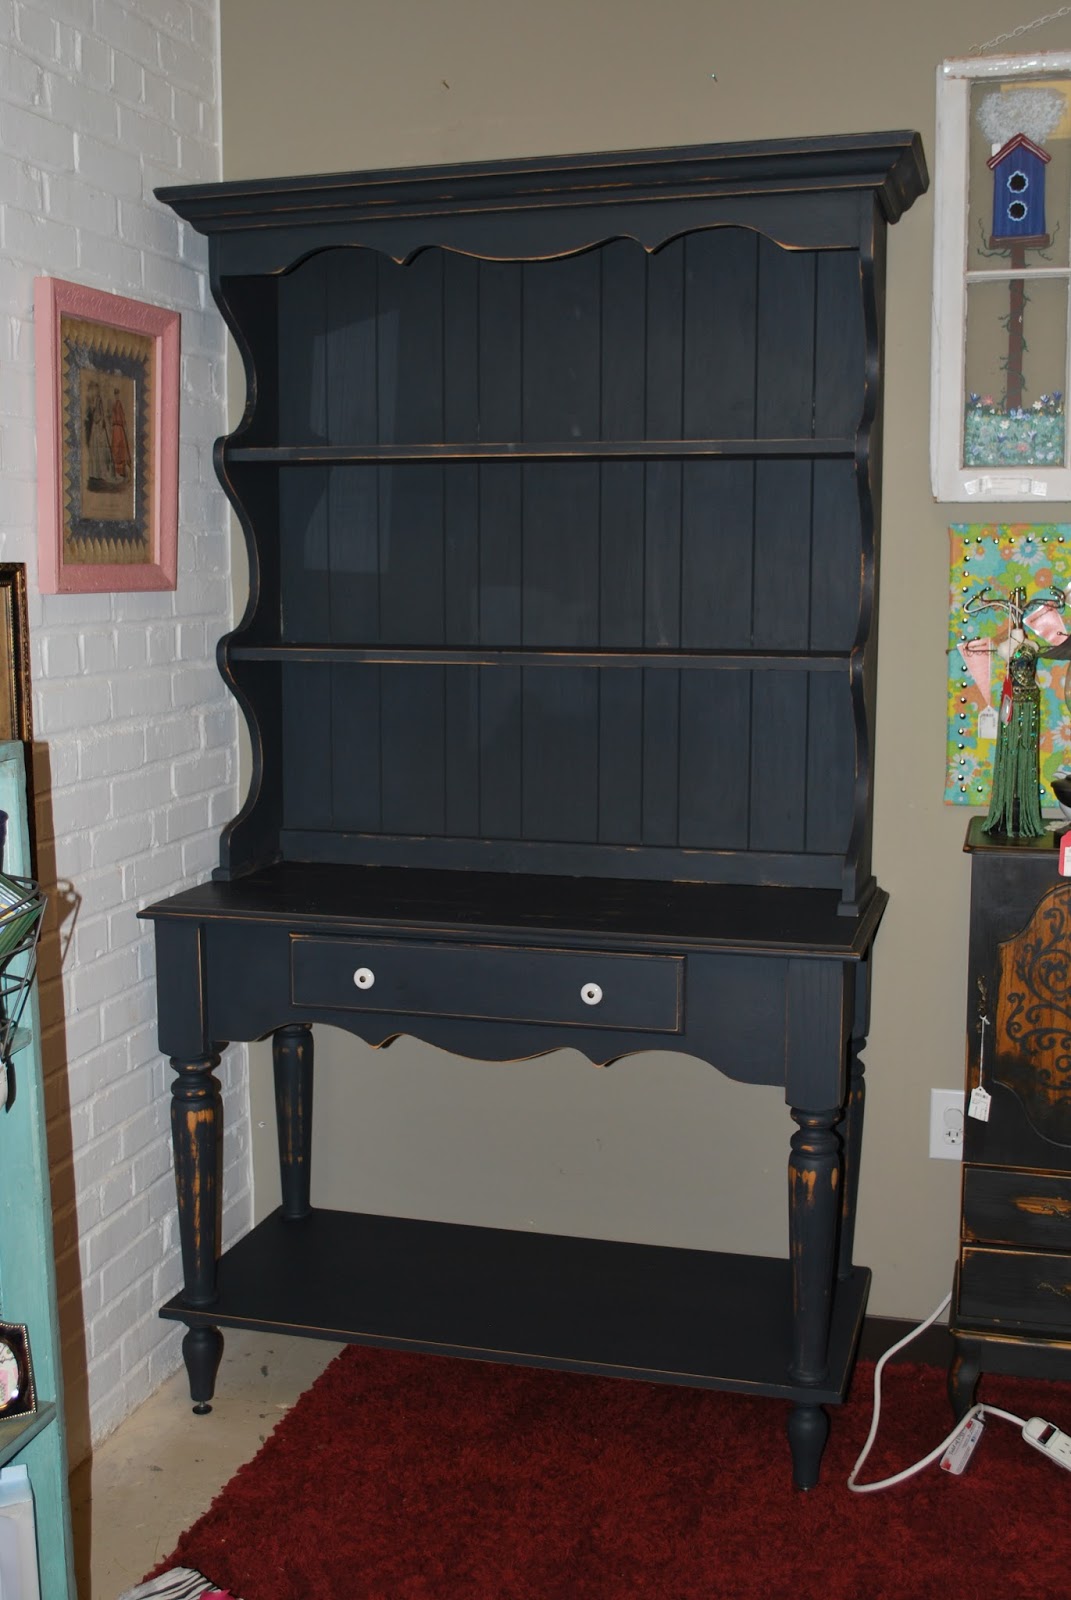
Pottery Barn Style Hutch Makeover

I'm loving the booth I share with my gal pal Melodie. (check out her blog-HERE)


We're a decade apart in age, but it's amazing the talents that each of us bring to the booth.

What has started out as a simple booth filled with handpicked treasures from garage sales, consignment shops, goodwill stores, and local online yard sales is turning into refinishing furniture and vintage finds along with items we create from items we find.  

We're loving it, but can be very exhausting at times.

I am a second grade teacher (beginning year 20- WOW!), and Mel has recently returned to school as a student in the Dental Hygiene field.
I have 3 teens and she has 2 tots.  

We always have projects going. (Our hubbies are always on our backs about our projects and taking up space in the garage or storage buildings.

But we love our time together making our corner of KnB's Marketplace a great place to visit and shop. Our ULTIMATE goal is to one day have our own brick and mortar shop.


Here's one of my latest projects~

I spotted this piece at a recent yard sale.


I should have jumped on it immediately, however my truck was loaded down from discovered treasures of the morning, leaving me no space for anything else. 
I'm also working on not being so impulsive. 
So, I got the owners email and number and decided to make her an offer later in the day if the piece didn't sell.

Well it didn't sell by the end of the yard sale~
So it was totally meant to be!

I brought the two piece set home a few days later.


I mixed my own custom charcoal gray chalk paint. {see post here}
Then painted and distressed it giving the piece a Pottery Barn look.


It's proudly on display in our booth.

A before and after....

Thanks for stopping by~

Follow us on Facebook to keep up with all our furniture makeovers and newly added treasures to our shop~


Wednesday, April 10, 2013

Chalk Paint and a Table Makeover

Chalk paint.
Milk paint.
Chalkboard paint.
 
These types of paints are all the rage these days in the furniture consignment and shabby chic market.
This week I decided to make my own chalk paint.
I do have Anne Sloan chalk paint, but I'll discuss that product at a later time.
Chalk paint is easy to make.
 
You'll need:
Plaster of Paris
Flat Latex Paint
Hot Water
Small Plastic Mixing Bucket
Paint Stick for Mixing
 
Mix 1/2 cup of hot water and 1/2 cup of Plaster of Paris together in the plastic mixing bucket.  Mix thoroughly with the paint stick.  A mixer will work for this step as well.  However, the mixer should be for paint only- not food preparation.  You want to eliminate any and all lumps.  Next, mix 1 1/2 cups of a latex paint of your choice with the Plaster of Paris mixture. I used a quality sample paint from Sherman Williams. Again, mix thoroughly.
 
The above recipe works great for me.  I love the consistency- not too thick or too watery.  However, feel free to add more Plaster of Paris if you want the chalk paint thicker.  The Plaster of Paris will also lighten the latex paint color slightly. I had extra paint left over and stored it in a covered glass jar to use for a future project.
 
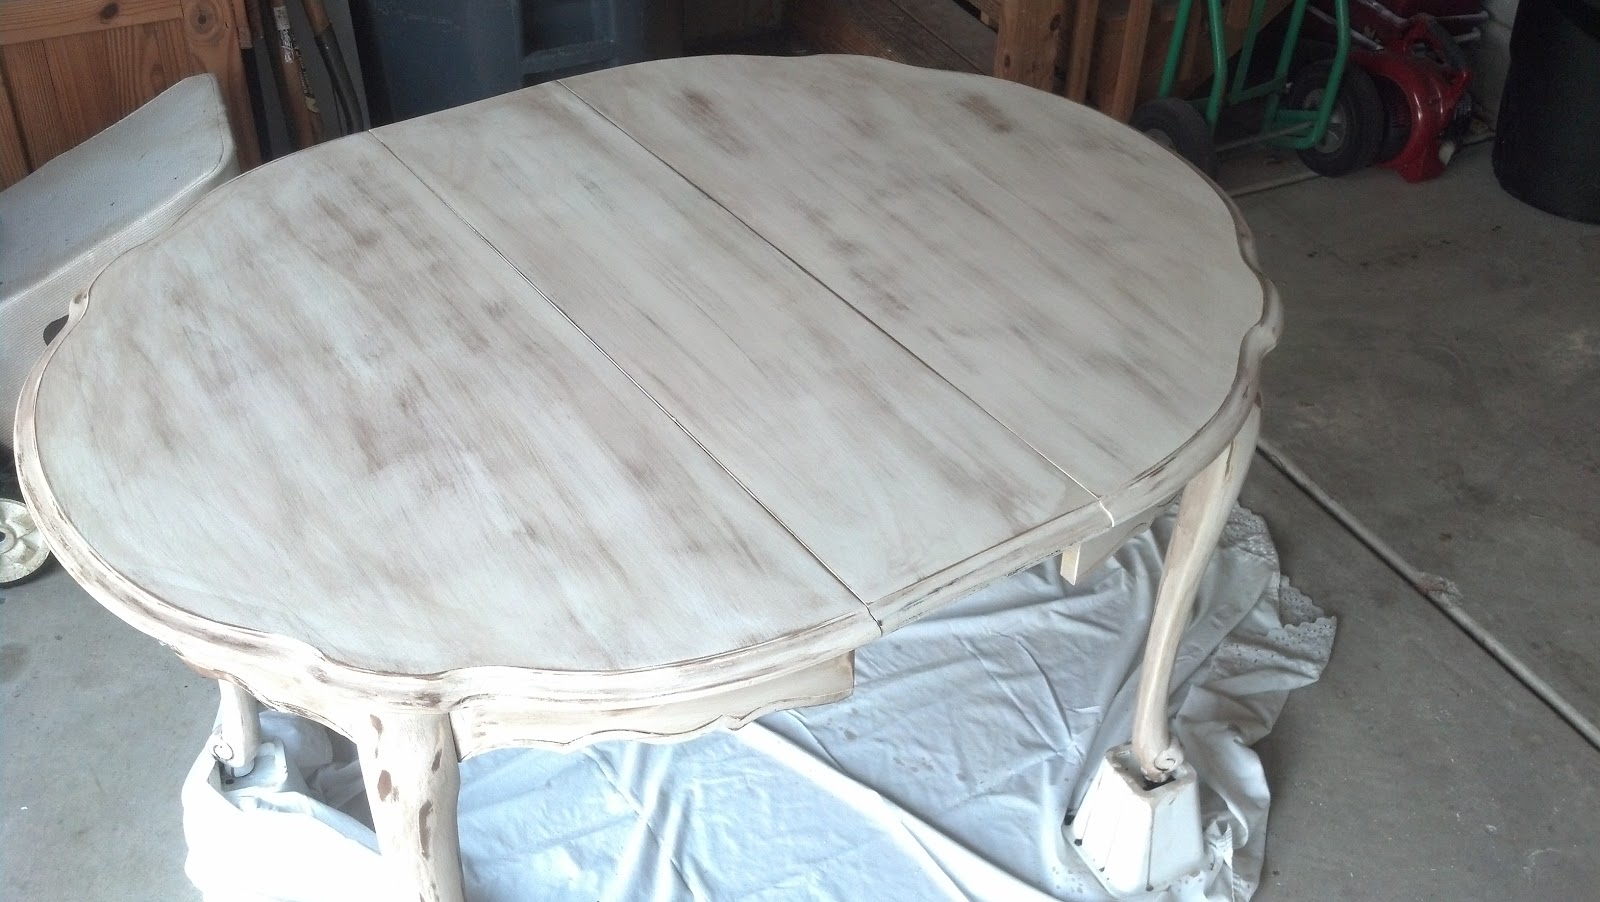
I picked up a table from The Salvation Army.  I loved it's shape, but it was UGLY!  This table was a great chalk paint project.  With chalk paint, you do not have to sand or prime. Just apply the mixture with a good quality brush.  Woo Hoo!  Because the top of the table had a glossy finish, I decided to sand it down to the bare wood before painting. Again, it was not necessary, just a personal preference.
 
Enjoy the photos~
Sorry, I do not have any before pics.  I always forget to take pictures until I'm halfway or even finished with the projects.


I applied two coats of chalk paint to the table and sanded it to give it a distressed, shabby look.  I followed up by applying 5 coats of Polyacrylic to seal it.  Polyacrylic is waterbased.  Oil based products have an unbearable smell for me so I don't use them.


A close up of the top.  Halfway through the sanding process, my hand sander broke.


I finished the sanding process by hand. A lot of muscle work but worth every sore muscle I had the following day.


This is the finished product waiting to be adorned in one of my shops.  She is a beauty if I say so myself.  She even has a removable leaf- an extra bonus.
 
 
She is now in her spot in my booth awaiting the perfect owner to come along and take her to a new home.
 
Have you had any experiences with chalk paint? Please share!
 
Thanks for stopping by~


Related Posts Plugin for WordPress, Blogger...