
It's October.
I almost thought October was going to boycott showing up this year.
Summer lasted F-O-R-E-V-E-R.
Fall was taking sooooooo long to roll around.
Fall brings some pretty cool holidays.
Get it "COOL?" (Lame, huh?)
Fall brings some pretty cool holidays.
Get it "COOL?" (Lame, huh?)
That means Halloween is around the corner.
I {heart}Halloween.
This is my MOST favorite holiday.
Currently, I'm on a frame kick.
You know those small wooden craft frames from Michael's?
The possibilities are endless with those little guys.
I've done two projects with them thus far, but tonight I will share one.
I created this project for the Halloween display in my booth.
I elevated the frames on my handy dandy bed risers and margarine tub in the garage.

I spray painted two coats of black front and back of each frame.


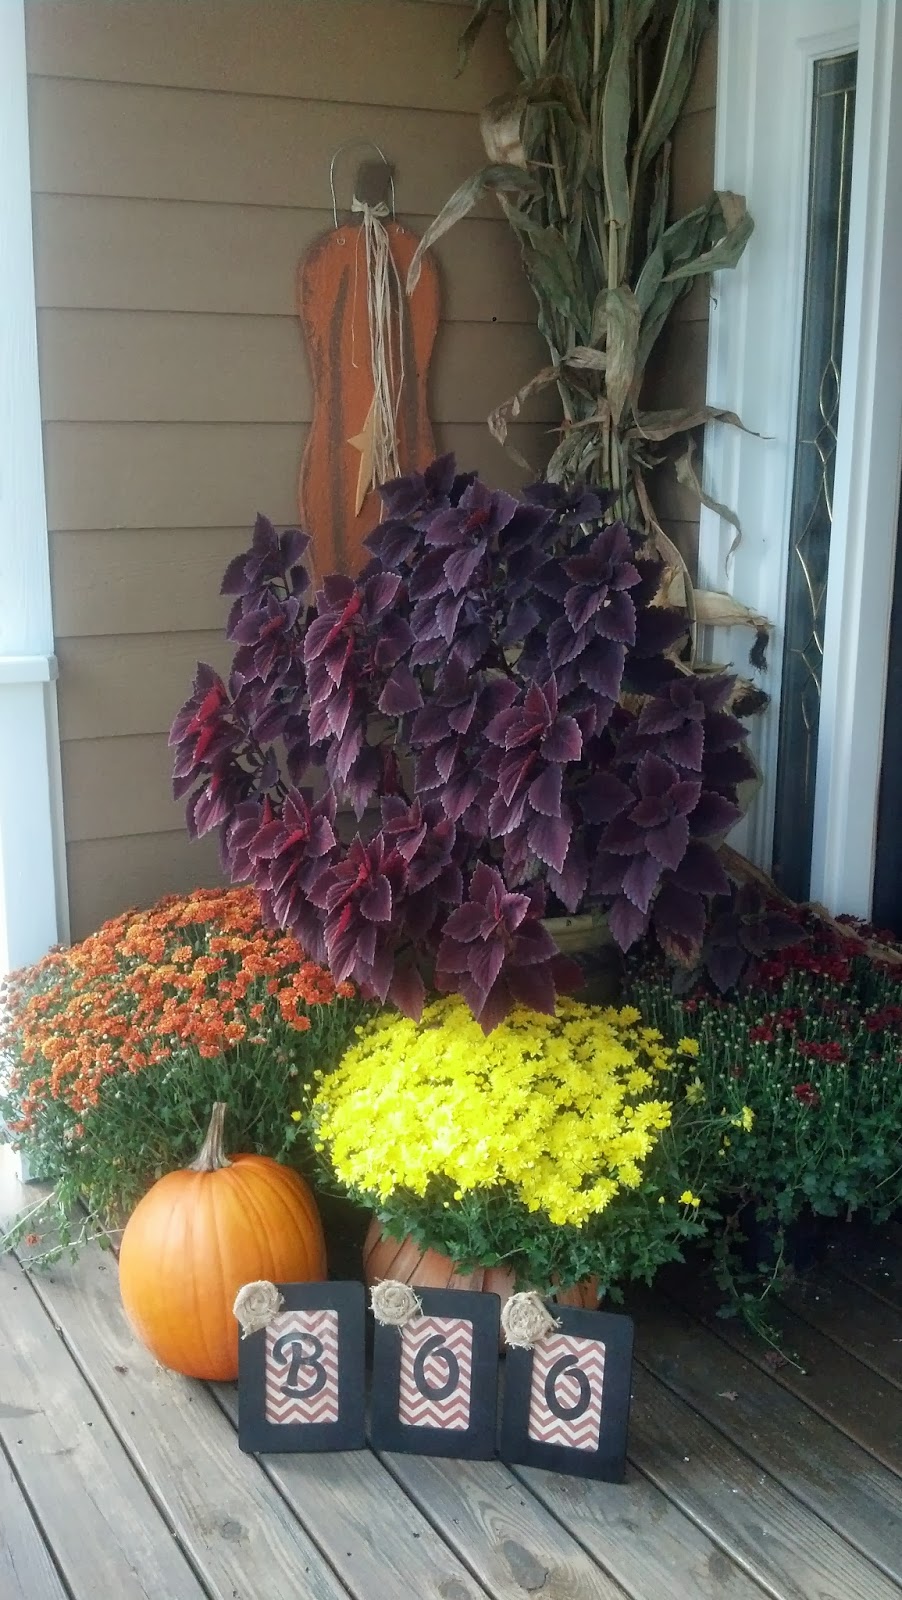
I found some orange Chevron patterned scrapbook paper that would be great for this project. I cut it to fit the frame.

I cut out the letters that spelled "BOO" from the Cricut. The letters are 3 1/4".

I ran the letters through my sticker maker. This is a handy machine to have in your craft stash of goodies.

I peeled the letters and stuck them to the chevron paper.

I then laminated the sheets for durability. The frames don't come with glass, so the lamination will serve that purpose.


I placed the letters into the frames, but the frames looked too plain.

I quickly made a few rosettes from burlap scraps. Not sure of whether to place the rosettes on the top of bottom, I consulted my partner in crime, Melodie. She suggested the top. I agreed with the placement.


Thanks for stopping by...


Thanks to you, I just purchased a sticker machine online from Staples!! Genius idea!!!
ReplyDelete